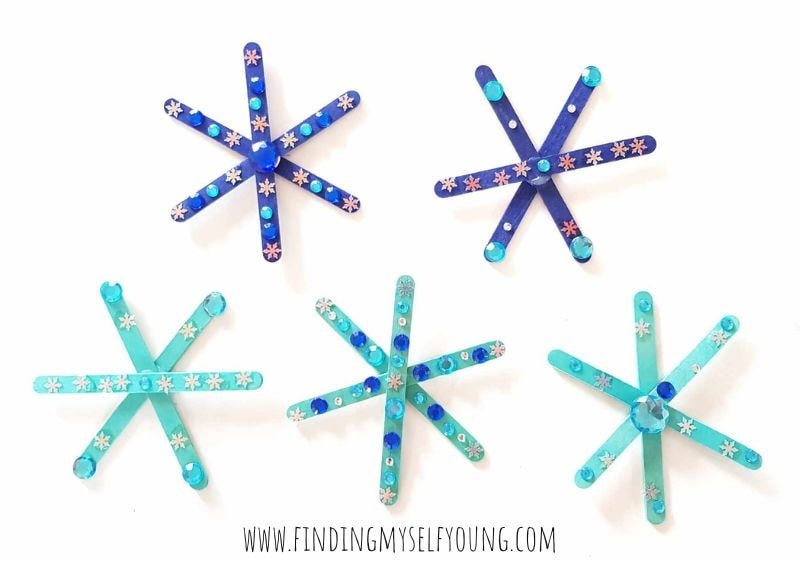
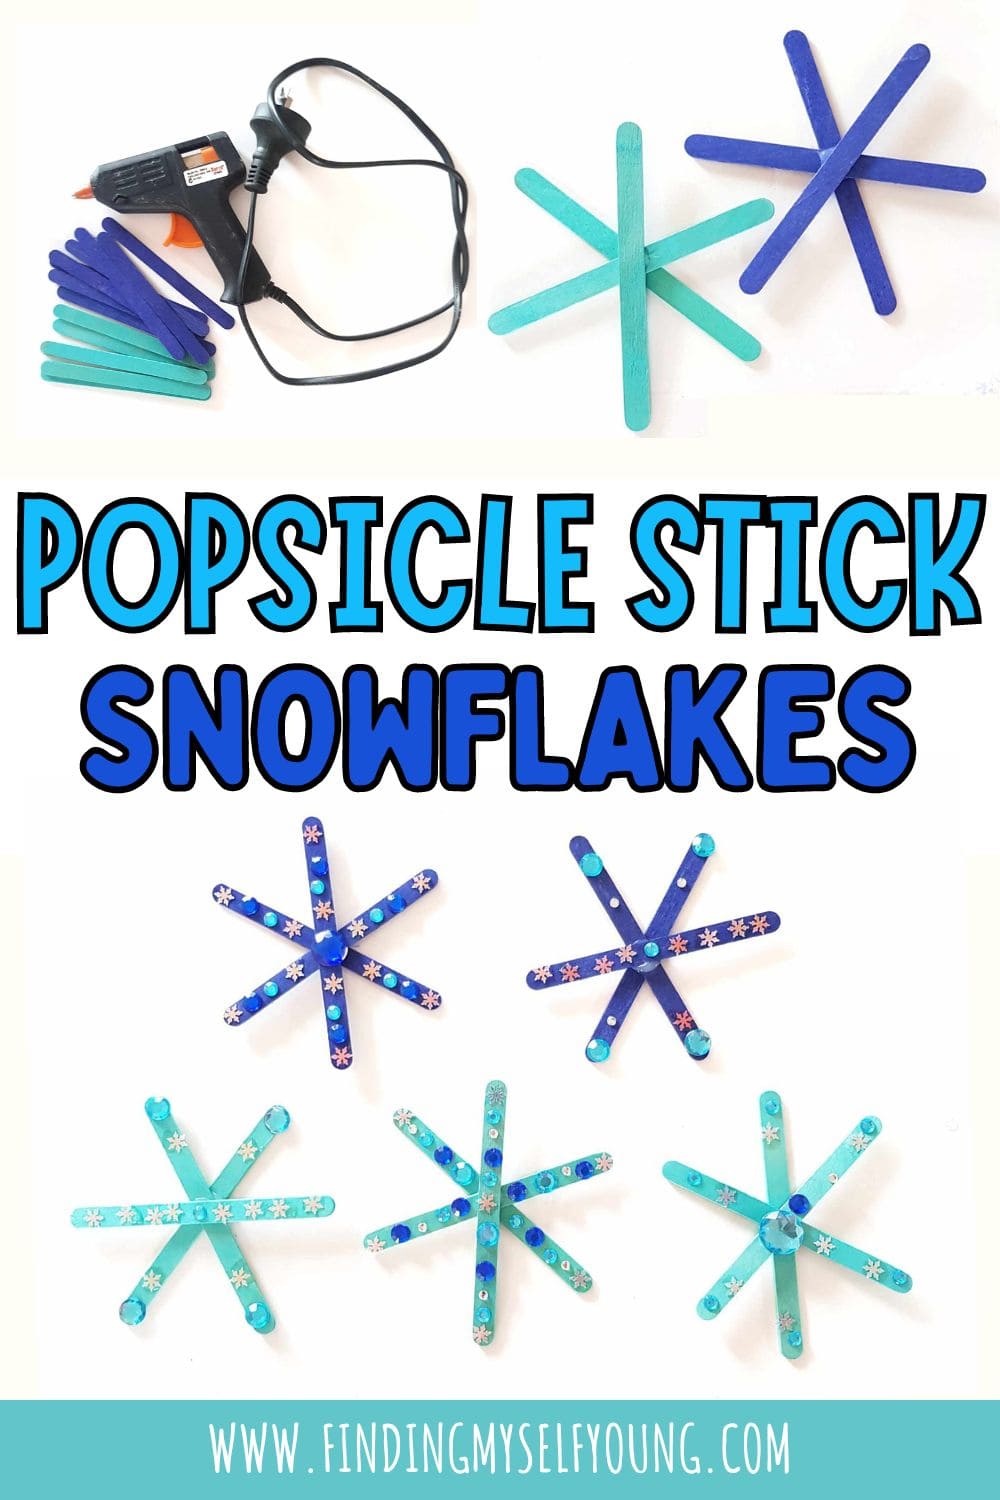
Popsicle stick snowflakes are a super easy, affordable and fun way for children to create their own handmade decorations. They're fun to make during winter or at Christmas time and let kids recreate the sparkly magic of snowflakes inside to brighten up the house. Follow our easy step by step instructions to learn how make your own popsicle stick snowflakes with your kids.
POPSICLE STICK SNOWFLAKE CRAFT
Popsicle stick crafts, also known as paddle pop sticks {here in Australia} or craft sticks, are always popular in early childhood settings as children love crafting and gluing with loose parts. They're also a great way for children to build essential developmental skills like pincer grip, hand strength and hand/eye co-ordination, whilst also expressing their creativity.
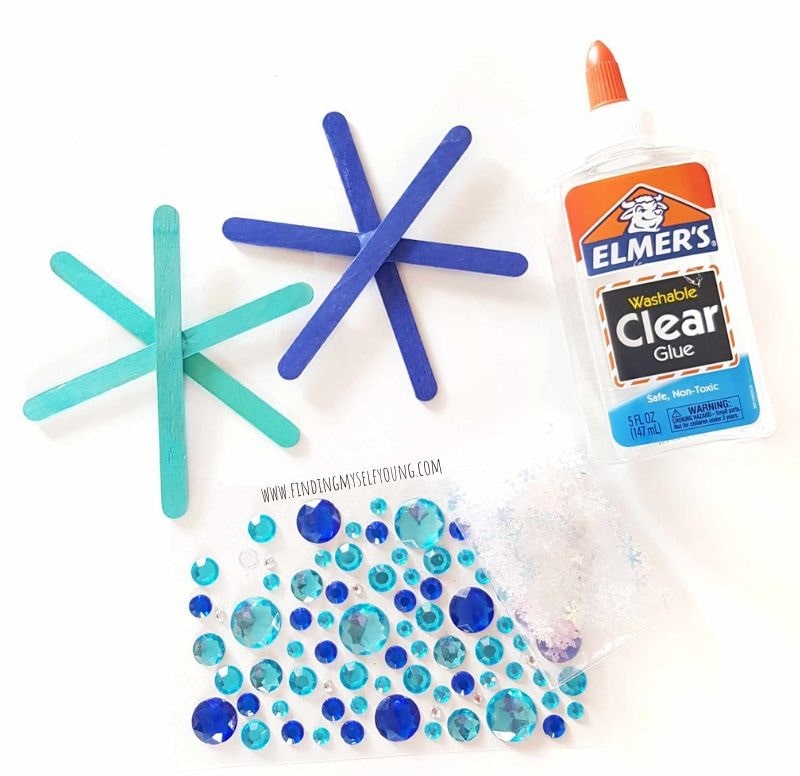
Supplies to make popsicle stick snowflakes
- Glue
- Adhesive gems
- Snowflake sequins
- Blue popsicle sticks
- Parchment paper
- Hot glue gun
We used dark and light blue popsicle sticks for our snowflakes because I already had them in the cupboard, however if you only have plain craft sticks you can paint them the colour you want before decorating them. The snowflakes would look great in white, any shade of blue or purple.
I have a stash of self adhesive gems for crafts because I find they're easier for the girls to attach when crafting as they're already sticky on the back, however you can use any flat backed gems and attach them with glue. You can also use any type of winter or plain circle sequins as embellishments. Other alternatives include glitter glue, beads, coloured pasta or foam snowflake stickers.
HOW TO MAKE A SNOWFLAKE FROM POPSICLE STICKS
If you're doing this craft with younger children, or in a school and don't want the children to have access to hot glue, then do steps 1-4 yourself before setting up the activity. For each individual snowflake you want to make you'll need 3 popsicle sticks.
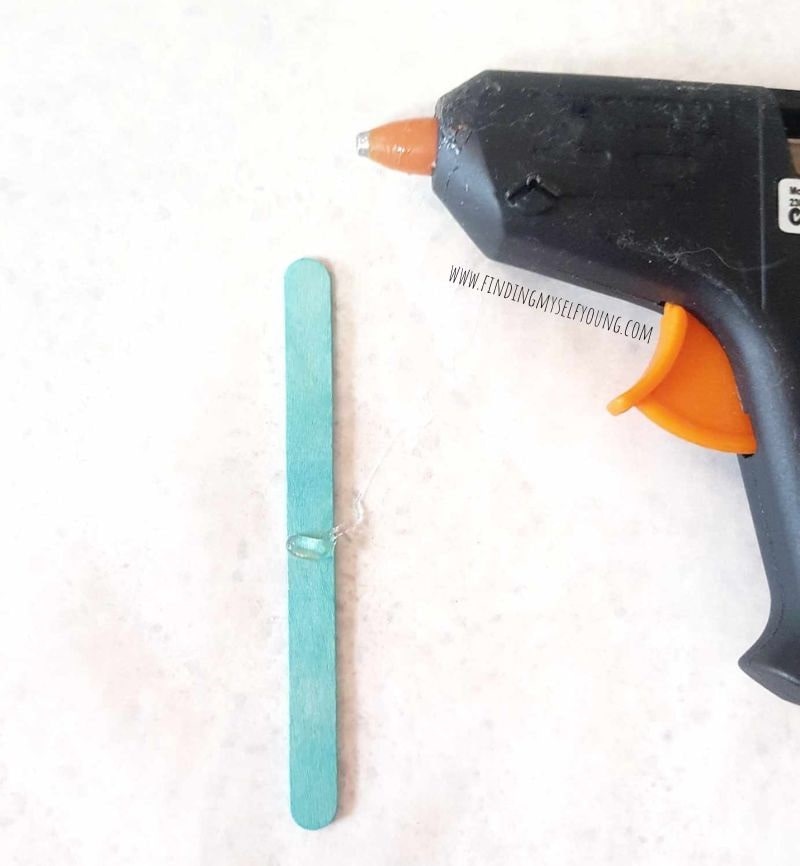
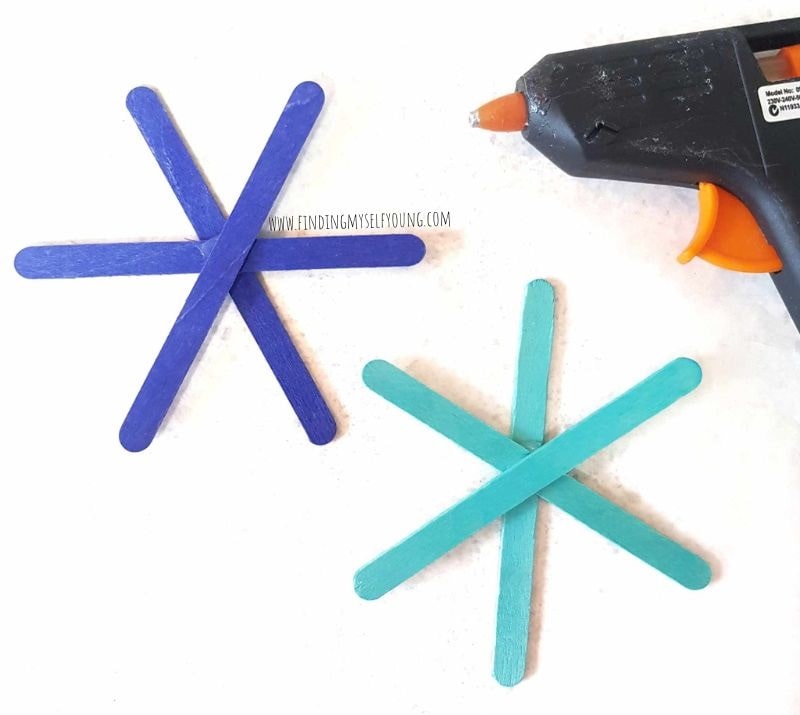
1. Place 1 popsicle stick vertically on parchment paper and put a drop of hot glue in the centre. See photo below.
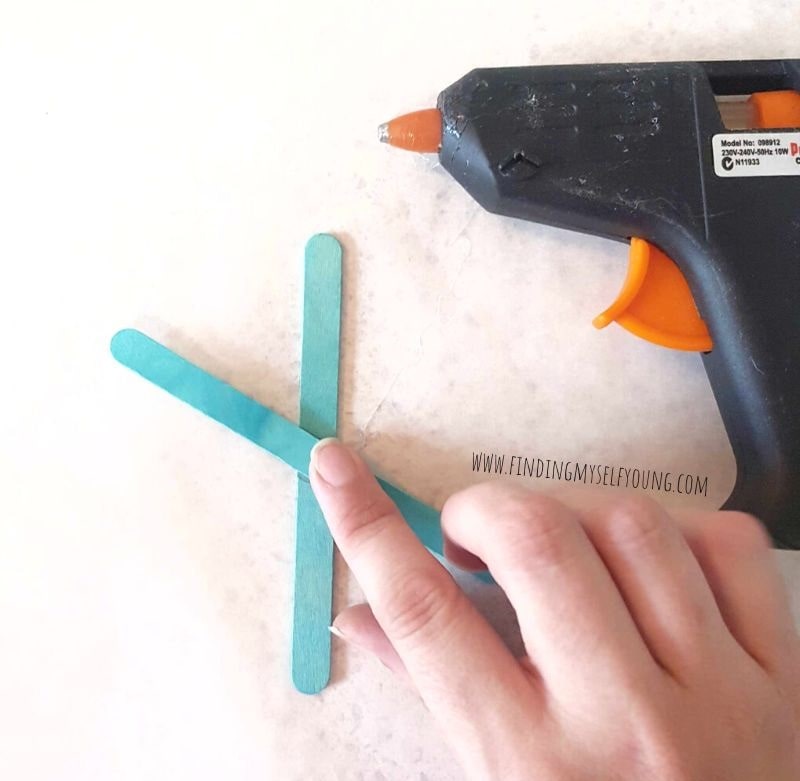
2. Place a 2nd popsicle stick on top at a 45 degree anti clockwise angle {see below pic}. Hold it in place for 10 seconds while the glue dries.
3. Place a drop of hot glue into the centre of the 2nd popsicle stick.
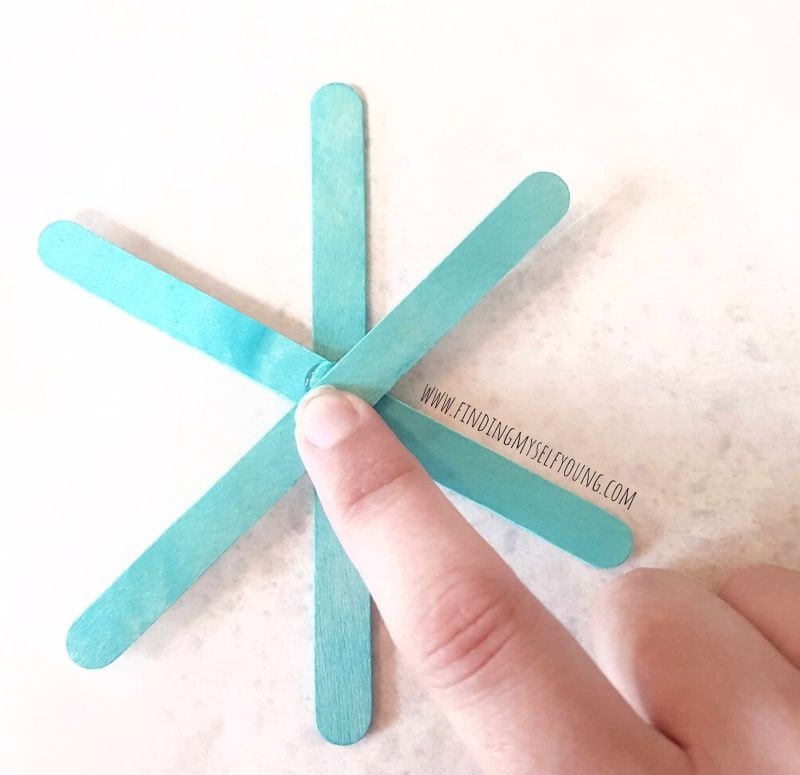
4. Add a 3rd popsicle stick on top at a 45 degree clockwise angle {see photo}. Hold it in place for 10 seconds until the glue is dry. Once the glue is dry it'll be hard and cool enough to remove any excess if needed.
Once you're done you'll have a six sided popsicle stick snowflake similar to a hexagon, as shown above. Repeat the steps to make as many snowflakes as you need. Don't worry if the sticks aren't placed perfectly, as all snowflakes are unique!
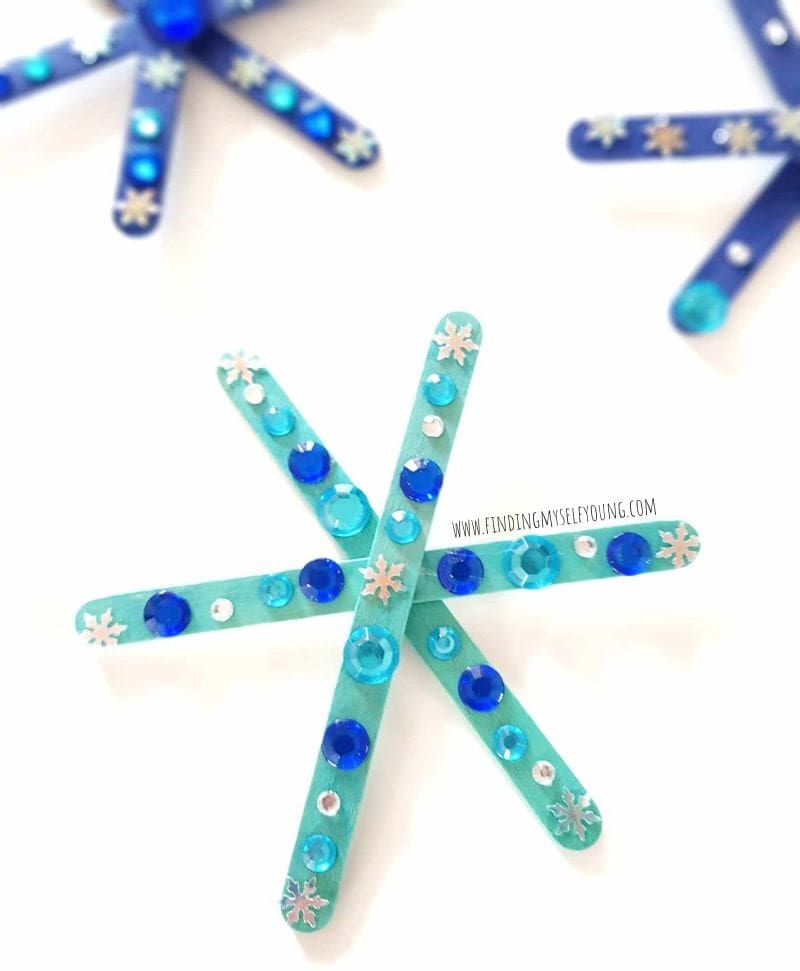
5. Decorate snowflakes with gems and sequins. There are no rules when it comes to decorating, so the kids can be as creative as they like. It's also a fun craft to explore symmetry and patterning, just like what occurs on real snowflakes, if they want to.
Adding the gems to the snowflakes is a great fine motor workout for little hands and fingers as they manoeuvre the gems off the sticker sheets and push them in place. We used a few different sized gems so my 6yr old had to grasp them all differently and pull them off with different amounts of force to get them to come loose from the backing sheet. She also needed to push down when attaching the gems to the sticks.
We also used some snowflake sequins which needed clear glue to attach them. She was able to squeeze the glue out herself and push the sequins into the glue to make them stick. Gluing was also a good exercise in cause and effect as she estimated and adjusted how much glue was needed to effectively hold the sequins in place without drowning them in glue.
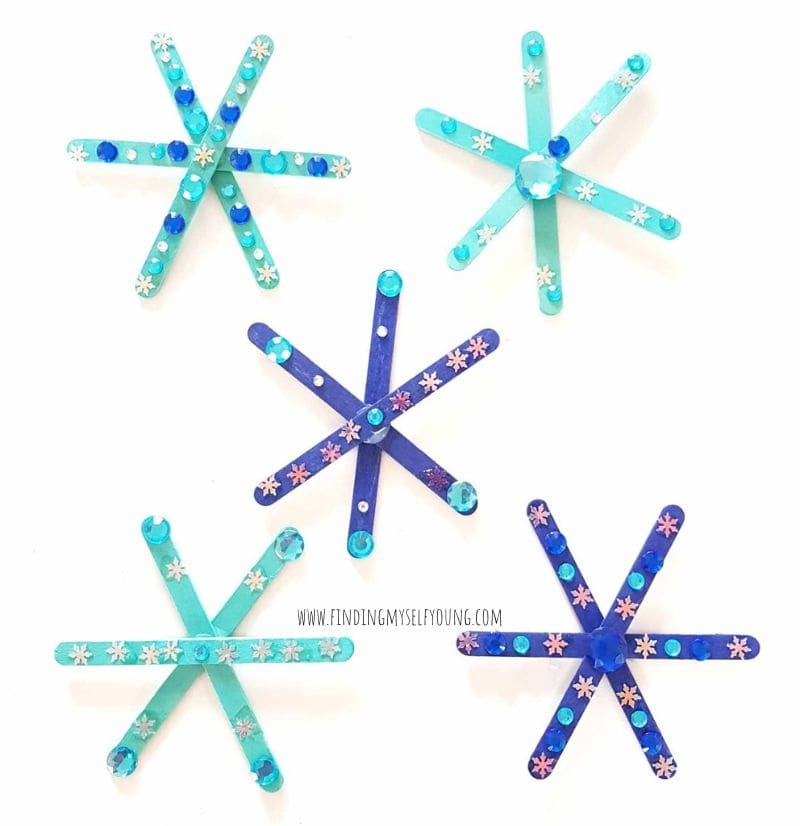
We ended up making 5 snowflakes before my daughter lost interest. You can tell in the image below the difference between my 2 snowflakes and hers based on the detail, however you can also see she did naturally experiment with patterning on hers.
Once you've made your popsicle stick snowflakes and they're dry you can display them in a few different ways. If it's Christmas time you can add a loop of ribbon or fishing line and turn them into hanging ornaments for the Christmas tree. You can also stick them onto wrapped Christmas presents for a little extra bling.
They can also be displayed on an art wall using some blu tack on the back which easily peels off when you don't want them on the wall anymore. You could also add some magnetic tape to the back to turn them into fridge magnets.
MORE SNOWFLAKE IDEAS
Disclosure - This post contains some affiliate links for your convenience, which means I may earn a small commission, at no cost to you, should you make a purchase.

