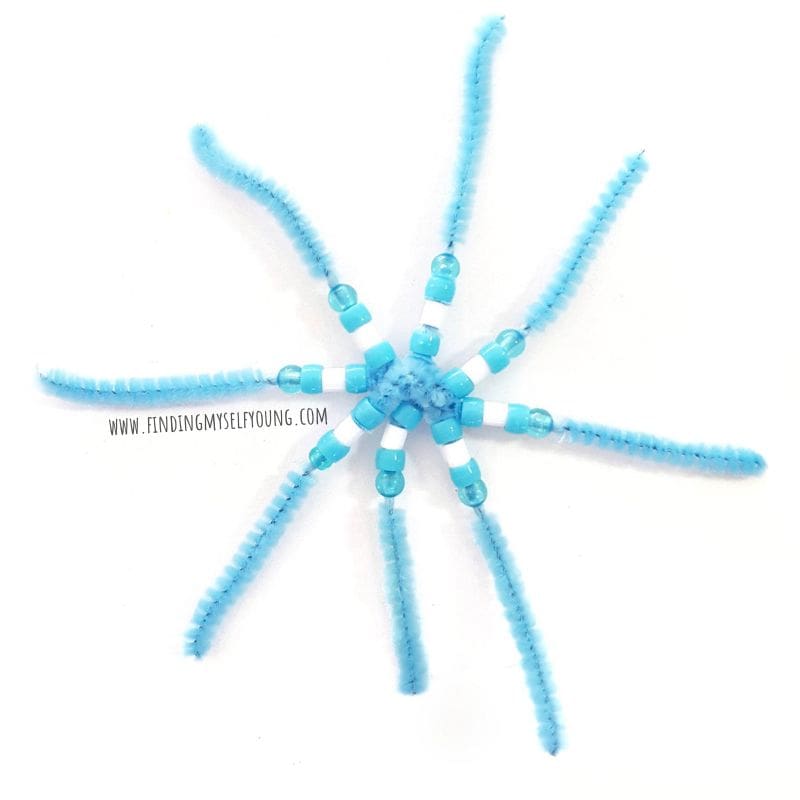
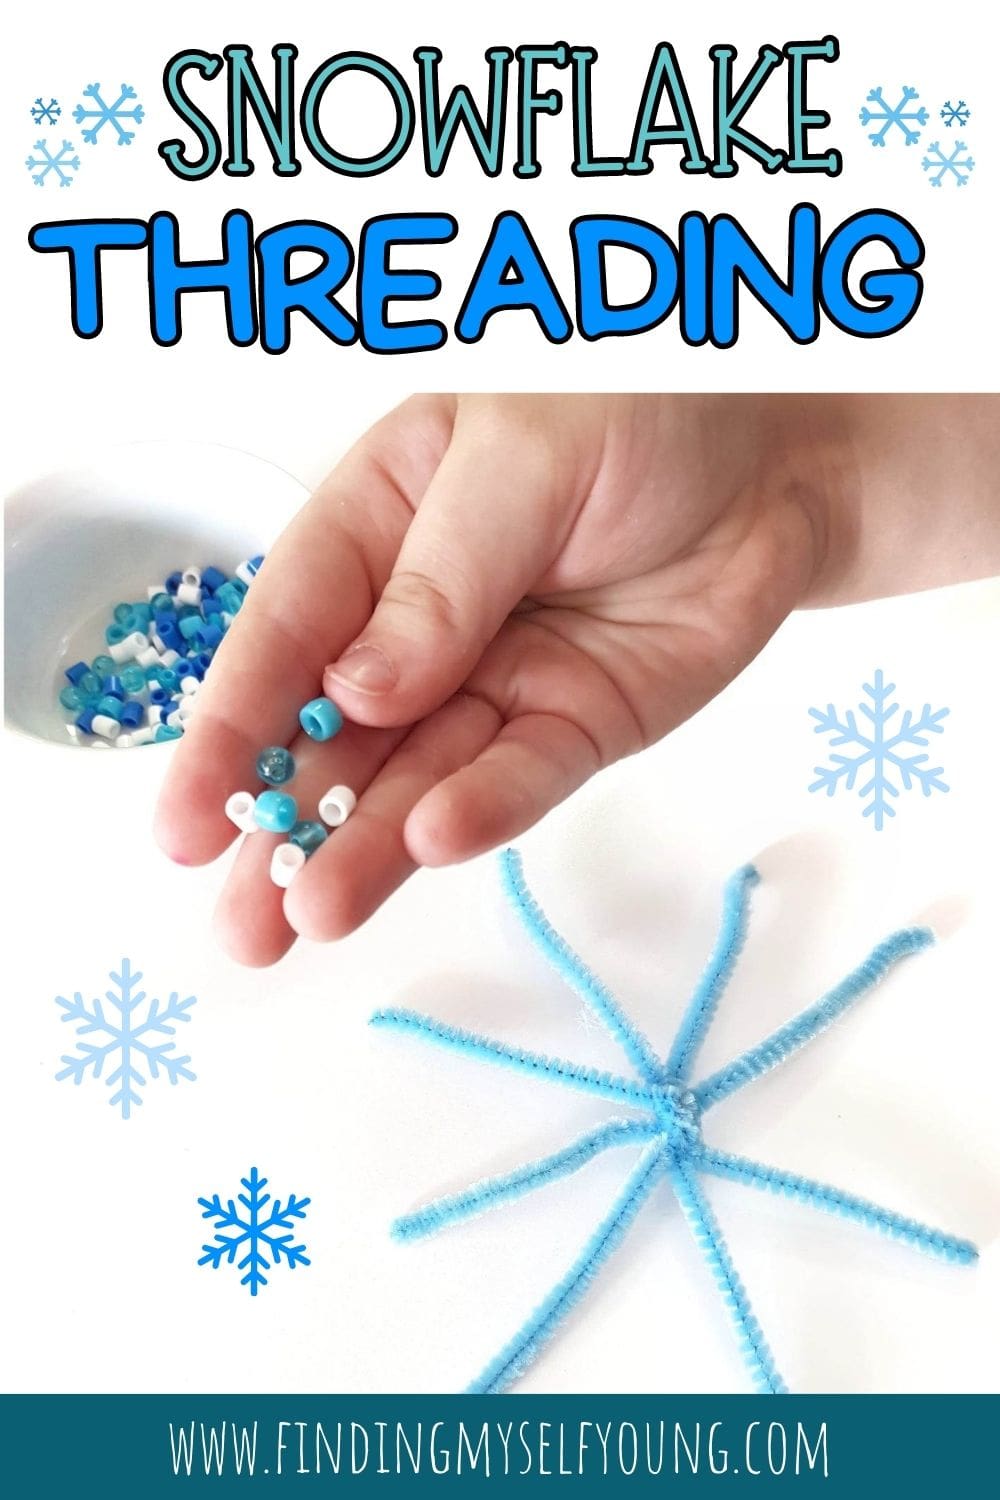
It can be hard to occupy children during winter when it's cold outside and they're spending lots more time inside the house, but don't worry I have the perfect winter activity for toddlers, preschoolers and even school kids. Threading snowflakes is a fun process art activity where children can create their own beautiful unique snowflakes from scratch, no snow required.
Threading has lots of physical and cognitive developmental benefits, but children won't even realise they're learning as they'll be so busy having fun creating their own masterpiece. Snowflake threading takes less than 5 minutes to set up and you only need 2 basic craft items.
While children are threading snowflakes it's a great time to talk to them about how snowflakes are formed and how no two snowflakes are the same. Even kids who've never seen snowflakes in real life will be fascinated by them. My girls haven't seen snow themselves but they love snowflake activities like the winter snowflake sensory bottle we made.
FINE MOTOR SNOWFLAKES: WINTER THREADING ACTIVITY FOR KIDS
Building fine motor skills is a crucial developmental skill for younger children to learn, in order to be able to do tasks such as tying shoelaces, opening and closing buttons, cutting and writing as they get older. Threading snowflakes is a great activity to help children build strength and dexterity in their fingers. It also exposes them to mathematical concepts such as recognising colours and shapes, creating patterns and counting.
Snowflake threading also allows children to express themselves creatively as there's no right or wrong way to layer the beads. They can choose to do their snowflakes with one colour, a different colour on each arm, alternating patterns, different sizes of beads, or a combination of all of these. Each snowflake will be unique, just like real snowflakes.
Developmental Benefits of Threading Beads
Fine motor skills. Grasping the beads, holding the pipe cleaners and pushing the beads onto the pipe cleaners are all great ways for children to use their hand muscles to make fine motor movements and increase their hand strength at the same time.
Hand/eye co-ordination. Children have to use their hand/eye co-ordination to get the beads to fit onto the pipe cleaners properly and to push them on.
Bilateral co-ordination. This activity requires children to use both hands {thus both sides of the body} at once by holding the pipe cleaner in one hand and the bead in the other. They then use both to help get the bead into the correct spot on the snowflake.
Improves concentration. The precise movements needed for threading help improve children's concentration skills and attention span as they need to focus while doing the activity.
Colour recognition. Using different coloured beads {or pipe cleaners} will help children recognise different colours as they're threading.
Pattern recognition. Some children will naturally, or intentionally, create patterns with different coloured beads which is a great foundation maths skill.
I recommend using blue, white or silver pipe cleaners for the snowflakes. We used a combination of white, light blue, dark blue and translucent blue beads in slightly different sizes. We used beads we already had so ours ended up being a mix of Ikea plyssa beads, pony beads and random beads from a necklace threading kit. If you don't already have beads, pony beads will be easiest for kids to thread.
HOW TO MAKE THREADED SNOWFLAKES
If you're doing this activity with a group of children it's easier to prepare the pipe cleaner snowflakes yourself before starting the activity. To do this complete steps 1-3 the day before for each snowflake you'll need.
Please note if working with smaller children, you can also make the snowflakes with 3 smaller pipe cleaner lengths {step 2} to make a 6 armed snowflake, so it's quicker for them to thread the beads on. Do not do this activity with children who are still mouthing.
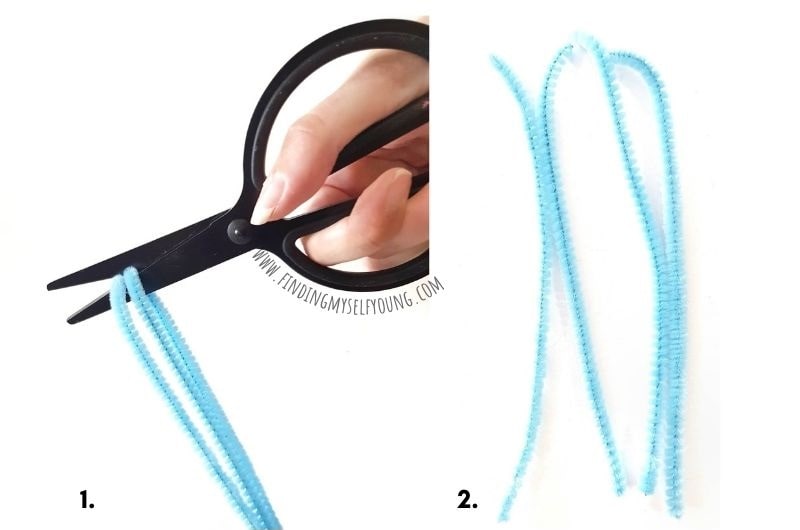
1. Fold the 2 pipe cleaners in half and cut at the half way point to create 4 smaller pipe cleaners. An adult will most likely need to do this step as it can be hard for kids to cut through the metal in the pipe cleaners.
2. Line up the 4 pipe cleaners and twist them twice in the middle so they're secured together.
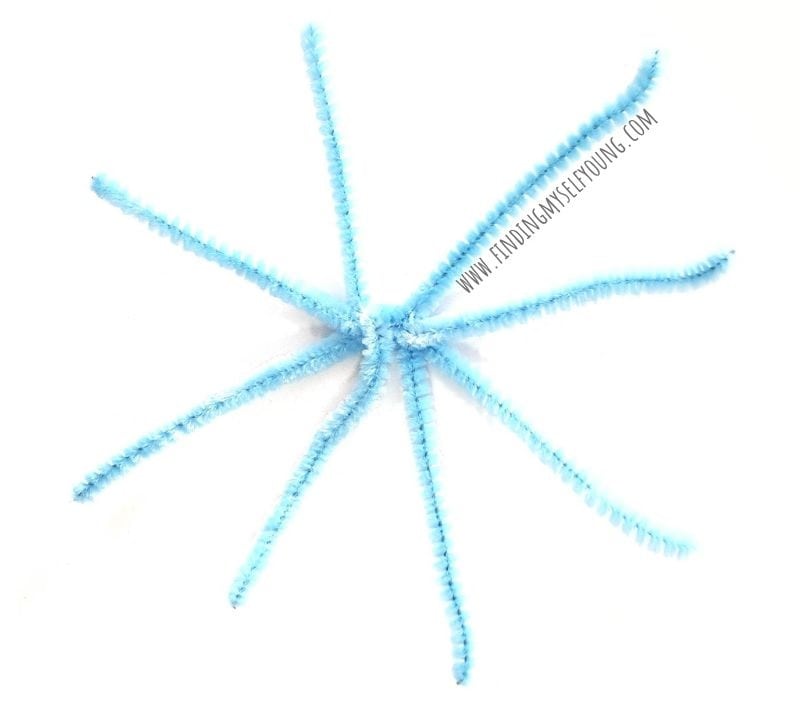
3. Spread out the 8 ends of the pipe cleaners to create a snowflake shape.
4. Thread beads onto the ends of the pipe cleaners and push them down to the centre. Repeat until each arm of the snowflake is full.
5. Once the end is almost filled with beads bend over the very tip so the beads won't fall off {optional}. This step is only necessary if you're using larger beads that are likely to slip off, or if you're making these with younger children and you want to avoid the possibility of a sharp edge. We didn't need to do this as our beads went right to the edge and didn't fall off.
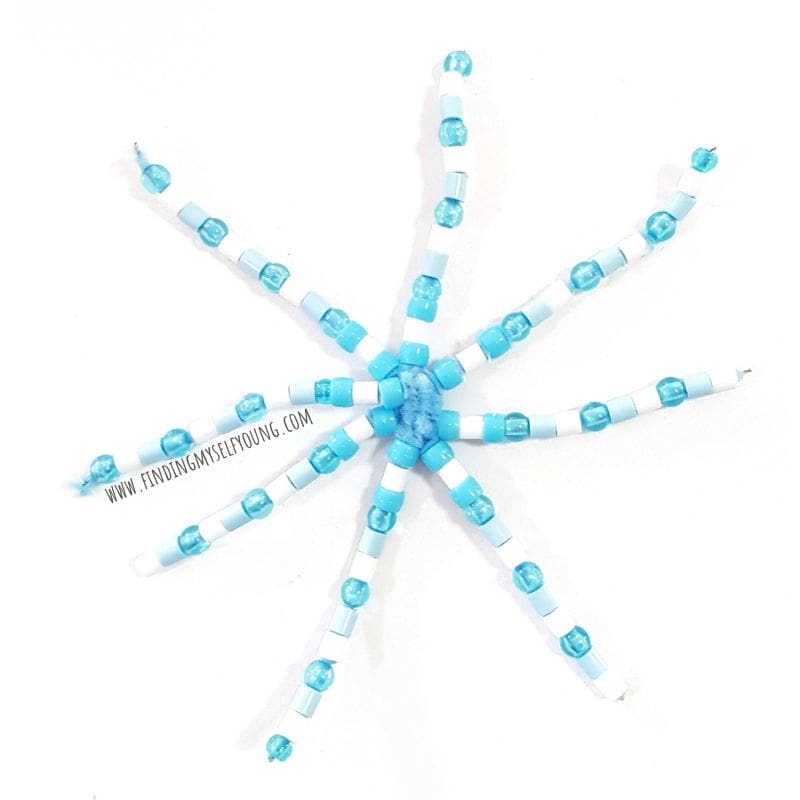
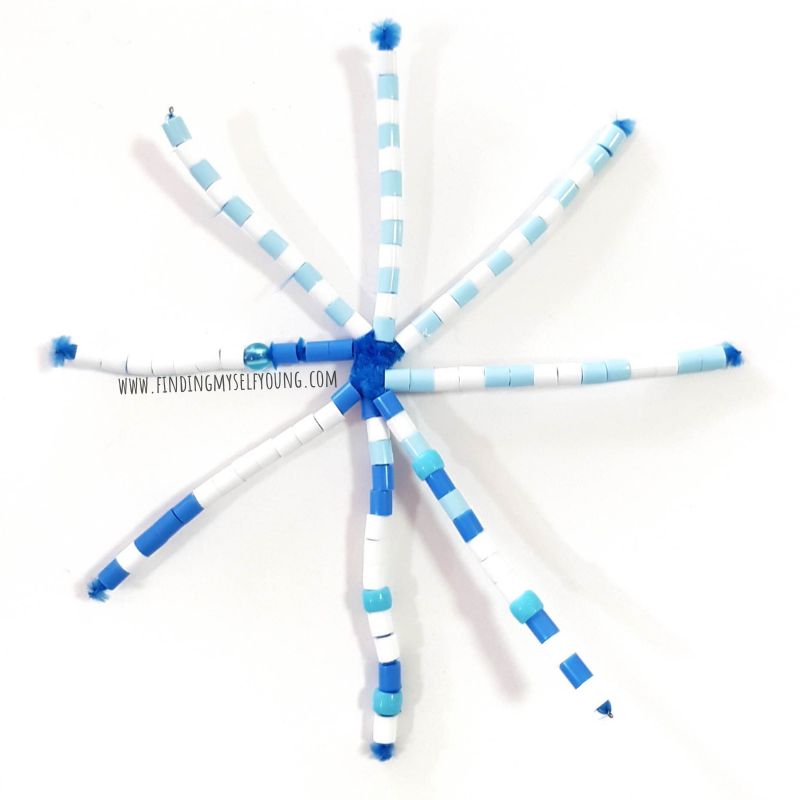
My girls made a snowflake each, with no direction from myself, and you can see how they both turned out completely different. My 9yr old made her whole snowflake a symmetrical pattern {above} just like a real snowflake, with the exception of a few of the end beads because the pipe cleaner arms weren't exactly the same length.
My 6yr old used a combination of different beads for each of her snowflake arms. She explored AB patterning, AABB patterning and then a few arms of random mixed colours. They were both so proud of their snowflakes.
Disclosure - This post contains some affiliate links for your convenience, which means I may earn a small commission at no cost to you, should you make a purchase.



.jpg)

