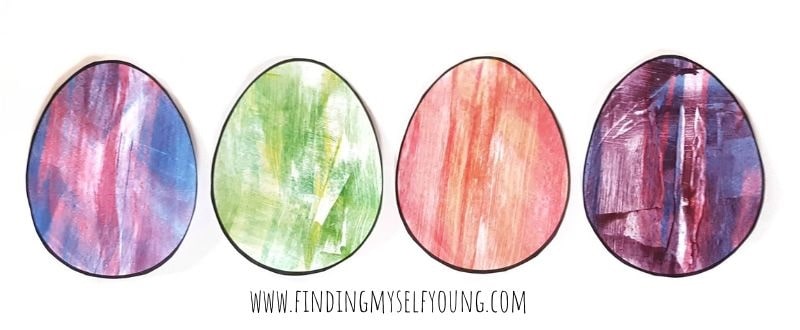
Kids will have so much fun creating beautiful abstract Easter artwork while scrape painting our free printable egg template. These scrape painted Easter eggs are a great way for children to express their creativity, and a fun way for them to explore mark making, colour blending, textures and patterns. They'll also be building their fine motor skills while painting.
You can do scrape painting at home with preschoolers, or in the classroom as a group art activity. The finished artwork is also a great way to decorate for Easter.
SCRAPE PAINTED EASTER EGG CRAFT FOR KIDS
Scrape painting is a process art painting technique where paint is scraped across the surface with a flat tool to create colour blending and abstract markings across the painting. Scrape painting can be done with various tools as long as they have a flat edge, such as a plastic paint scraper, a ruler, squeegee, credit card, or even cardboard.
Scrape painting is a great way for children to improve their hand/eye co-ordination and build their fine motor muscles as they grasp the tool and scrape the paint carefully across the paper or canvas. It's also a great activity to cross the midline which is an essential co-ordination skill for children.
Supplies needed:
- Egg template
- Washable paint
- Squeegee or ruler
- Tray {optional}
To do scrape painting all you really need is the printable template {download below}, some washable paints in colours of your choice and either a squeegee or ruler to use as a scraper. Make sure you use washable paint as it will make cleaning the squeegee or ruler really easy, however I still recommend buying a separate squeegee or ruler that you keep purely for art projects.
I bought the Ikea LILLNAGGEN squeegee for a few dollars to use specifically for painting projects. However, you could also use a straight piece of cardboard, as a more frugal option, if you have empty cardboard boxes available.
I also recommend using either a shallow rectanglular tray, or lining your table with a clear plastic tablecloth to control the mess, as some paint will inevitably smear off the paper as it's being scraped. Both can be easily cleaned by wiping off the paint with some water and a cloth.
How to make Scrape Painted Easter Eggs
1. Print template and lay flat in tray.
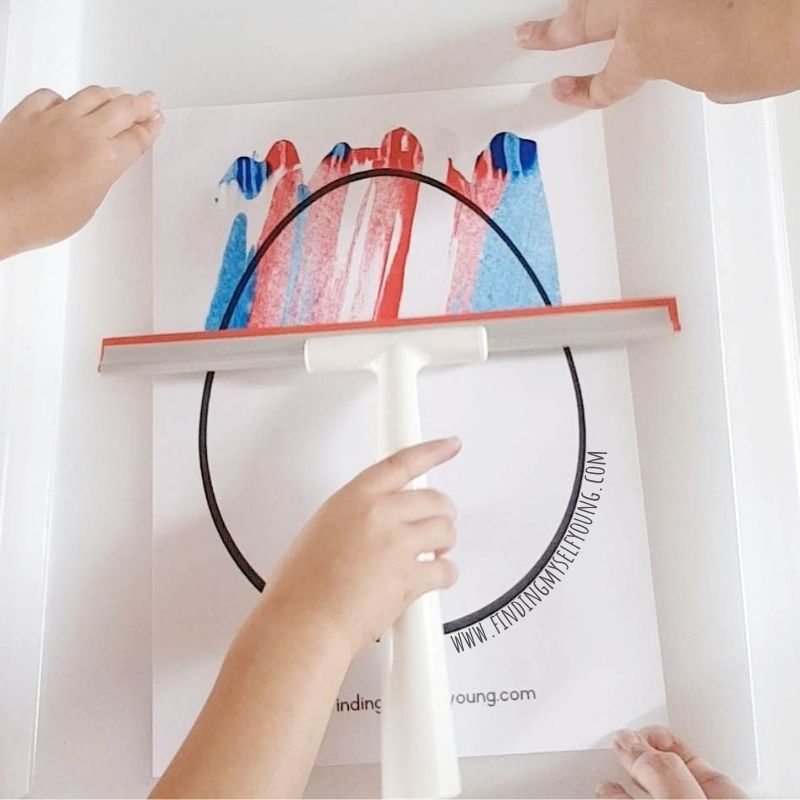
2. Squirt a few drops of paint at the top of the page above the egg. Leave a bit of room at the very top of the page to hold the paper so it doesn't slip as you scrape the paint.
Alternative paint technique:
Squirt blobs of paint in different spots across the blank Easter egg template. This will result in different colour patterns across the egg with one swipe, no need to do multiple swipes.
3. Place the squeegee flat on the paper above the paint and swipe it all the way down the page in one movement. Younger children may need adult assistance holding the paper still as they scrape the paint down the page.
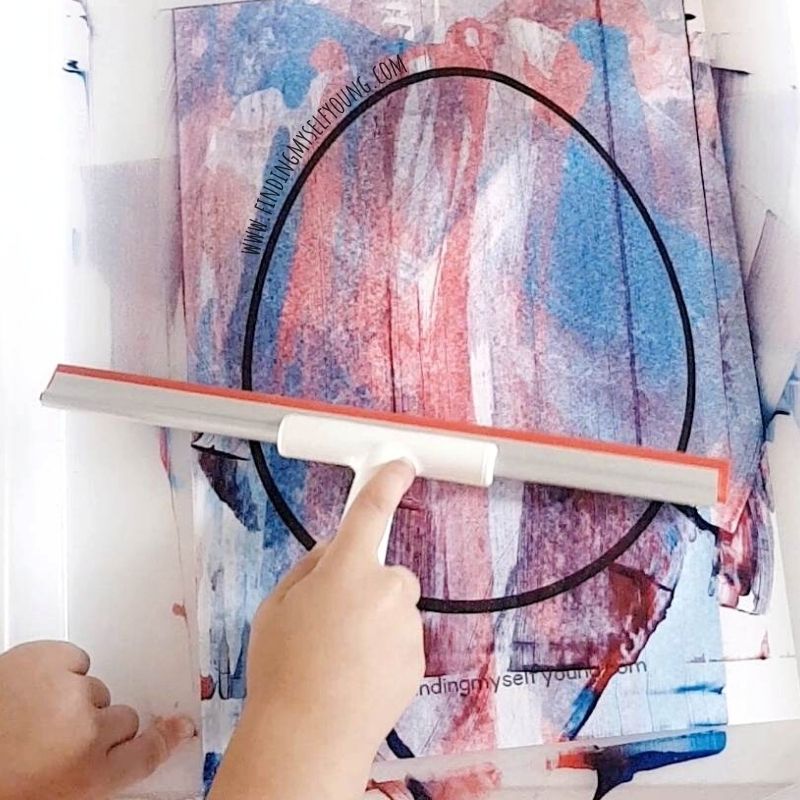
4. Drag the squeegee across the paper again in different directions. Swipe across the paper until you're happy with the design left on the egg.
You'll notice each time you swipe paint across the paper it will leave a new layer and change the design of the print left on the egg. If you've used primary colour paints you may also notice the paint blends in areas to create additional colours like ours created partial sections of purple.
5. Leave paper to dry. Ours took a few hours to dry completely.
6. Cut the egg out of the template. Once the egg templates are cut out they can be put on display on an art wall, pegged to string to make an Easter bunting, stuck onto paper to make a gift, or stuck onto the front of an Easter card.
We also kept the paper from the outline of the egg template and cut it up to repurpose the artwork for a mosaic egg because it was so pretty.
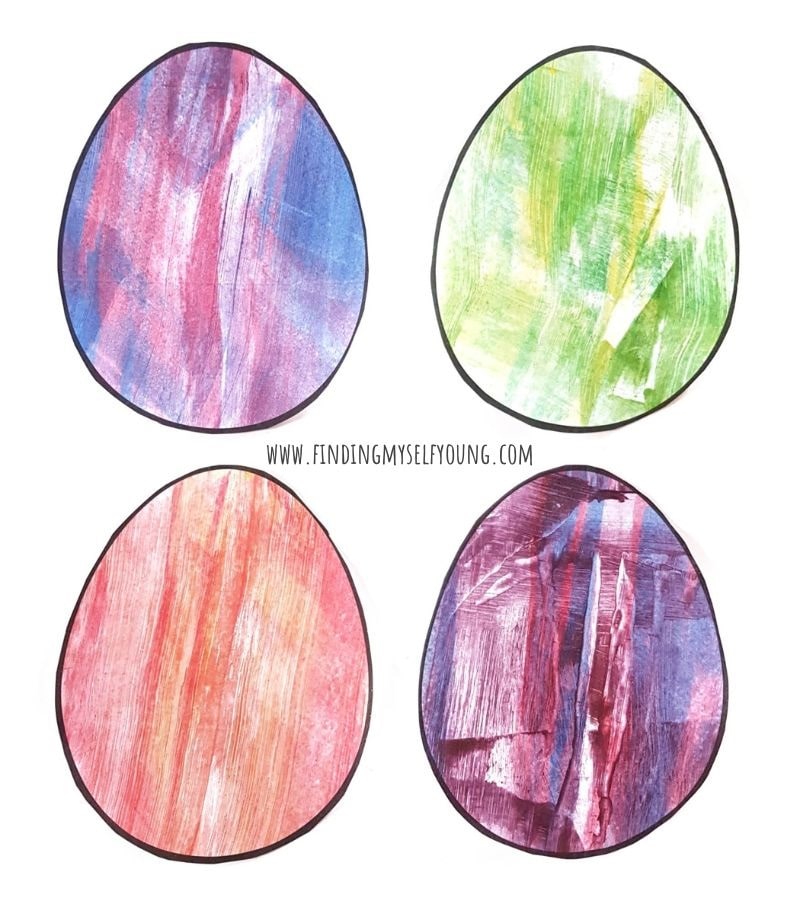
My 5yr old made 3 different eggs all using primary colours in the hopes of them blending to create purple, orange and green eggs. My 9yr old also did a blue and red egg to create purple and show the difference between the detail using the same colours.
The beauty of this activity is that even if all children use the same colours every single egg will still turn out unique based on the way they swipe their paints across the paper.
You can see from the eggs above that my eldest daughter {right egg} experimented with creating different textures and patterns by moving the squeegee in a lot of different directions whereas my youngest mainly swiped the paint across the page in straight lines.
Download Free Printable Egg Template
To make the scrape painting even easier, I've made a simple blank egg template that you can download and print off. This will ensure all eggs are the same size if you're making them as a class activity. For best results print on white cardstock, however we've used it on paper with no problems.
Please note this free printable egg template is for personal or classroom use only, it cannot be electronically reproduced, shared, published or sold on any platform. If you would like to share this craft or feature it in a blog please link back to this post directly.
If you're looking for more Easter craft or play inspiration please come and join our Facebook group Easter Craft, Play and DIY Ideas. There are also more Easter craft ideas at the bottom of this post.
MORE EASTER CRAFTS FOR KIDS
Disclosure - This post contains some affiliate links for your convenience, which means I may make a small commission at no cost to you, should you make a purchase.


