Did you know you can paint with flowers?
If you're looking for a fun spring or summer process art activity, or nature play idea for playgroup or kindy, then painting with flowers ticks all the boxes. It's a great way for children to investigate and learn about flowers while also immersing themselves in a sensory learning experience.
PAINTING WITH FLOWERS
Flower painting, also known as flower printing, is a fun sensory painting activity that doesn't need a paintbrush, because the flowers are the paintbrush. If you have flowers that are about to wilt, painting with them is a great way to preserve their beauty before the individual flower deteriorates. Instead of letting the flower wilt away, create a beautiful painting that can be displayed.
Flowers can also be gathered on a nature walk at the local park, school, your backyard or in the local neighbourhood. Flower painting is a great way to combine a nature activity, sensory play and process art. It can also be done by children of all ages, but will be particularly beneficial to toddlers and preschoolers because of the sensory and fine motor benefits which will help prepare them for writing later on at school.
Supplies for flower painting
- Flowers
- Washable paint
- Paper plate
- Paper
- Tray {optional}
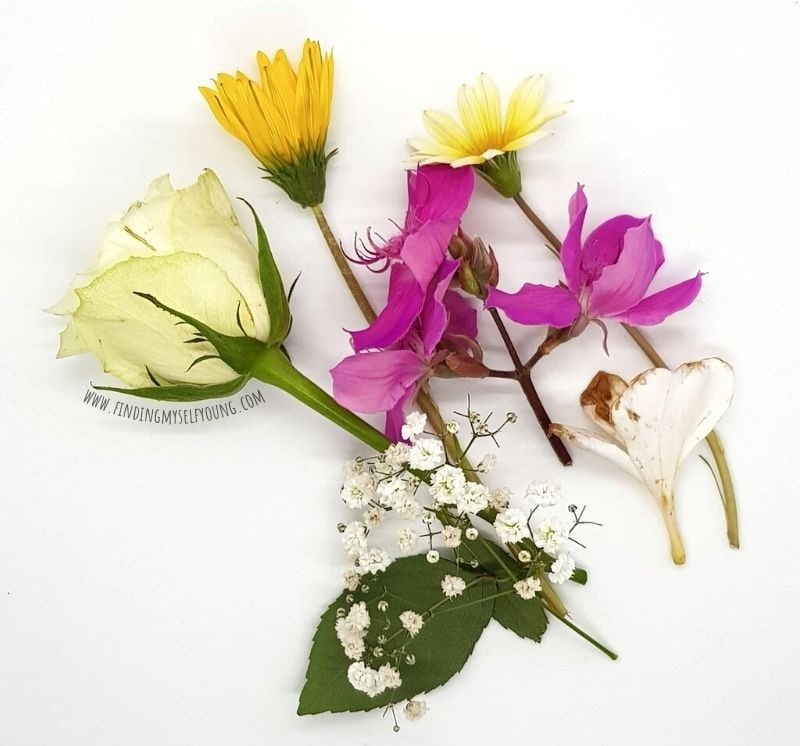
We decided to do flower painting because we had some white roses and baby's breath flowers that were starting to wilt and wanted to use them for an activity instead of throwing them away.
We went on a quick nature walk around our neighbourhood to find some other types and colours of flowers so we could compare the different shapes and textures they would make with the paint. We ended up with a collection of daisies, princess flowers and a frangipani to go with our rose and baby's breath.
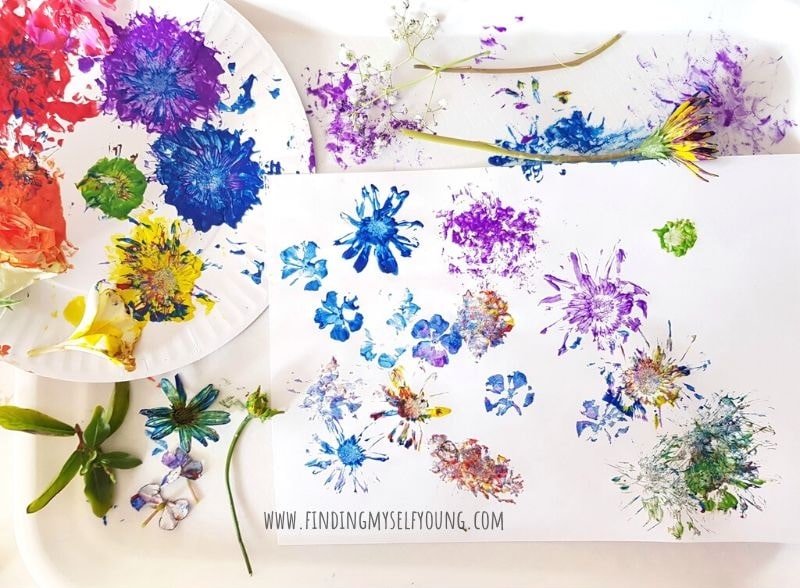
The girls did our flower painting inside on a large plastic tray with washable paint to try and limit the mess. As you can see from the photos there was still some mess, but it was easy to clean up with a wet wipe. If you're worried about making a mess inside you can always paint with flowers outside.
HOW TO PAINT WITH FLOWERS
Always make sure children paint with flowers under adult supervision, especially children who are still mouthing. Also make sure you use flowers you're familiar with as some flowers may be poisonous to humans or toxic to animals.
1. Collect flowers. Use store bought flowers, or collect local flowers from nature.
2. Put paint onto paper plate. Pour paint colours you're going to use onto the paper plate, or into a paint palette. Make sure the colours are spread out far enough to leave room for each flowers petals.
3. Dip flowers into paint and press them onto the paper. This is where the fun begins! There are no rules for painting with flowers, just let the kids explore and create.
She started out by printing each flower in a different colour to see what different images they created. The frangipani print didn't look much like a proper frangipani because it was probably a little too wilted and the petals were too limp to stay in shape. The rose created a lovely layered print as long as the right amount of paint was used.
Her favourite were the daisies as they looked the most like flowers. We used 2 different ones, one was more open than the other, and it was obvious in the imprints they made.
Tips for painting with flowers:
- Try to cover all the petals with paint as it will create a better print.
- Pushing the petals onto the paper can help create a more realistic image.
- Use a different colour for each type of flower.
- Experiment with different amounts of paint.
- Dip the flowers in more than one colour.
While I cleared away our initial paintings she kept doing more painting and when I came back I was so excited to see she was experimenting with all the flowers in all the different colours. She was also colour mixing by dipping some into more than one paint colour.
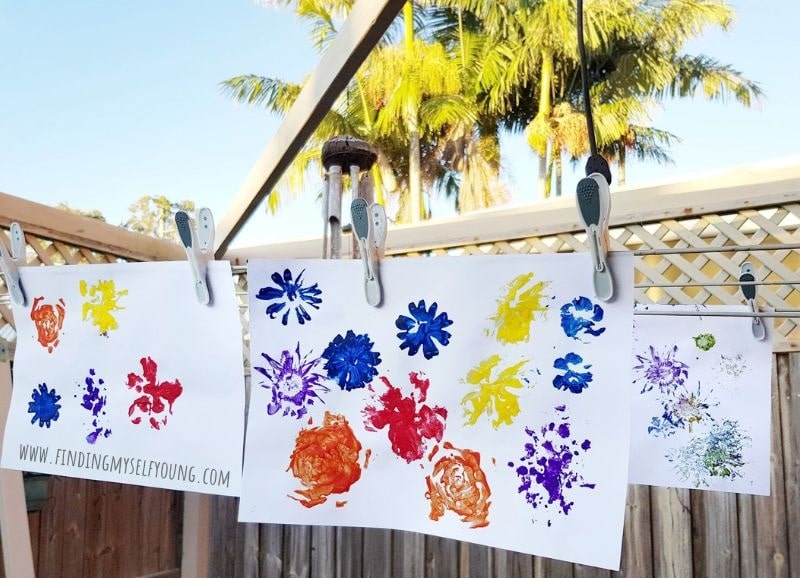
4. Hang the paintings to dry. Once they're dry display them in an art wall or they can be repurposed into gifts for friends and family.
Benefits of Painting with Flowers
- Fine Motor Skills - grasping the flowers as they're dipped into paint and pressed onto the paper is a great way to develop pincer grip.
- Hand/Eye Coordination - moving the flowers from the paint to the paper develops hand/eye coordination as children visualise where to paint and subsequently move the flower to that spot.
- Sensory Stimulation - children can explore the tactile differences of each flower.
- Colour Recognition & mixing - reinforce individual colours as well as explore colour mixing with primary paint colours.
- Exploring Textures & Mark Making - each type of flower will create different marks with different textures.
- Cause & Effect - children will learn how adding different amounts of paint, or applying different amounts of pressure to the flowers creates different images.
- Self Expression - children can visually express their thoughts through their design.
Disclosure - This post contains some affiliate links, which means I may make a small commission at no cost to you, should you make a purchase.


