Spring is my favourite season because it's not too hot and not too cold, and there's lots of pretty flowers, birds and butterflies around. You can bring the beauty of spring inside with this easy spring sensory bottle. It would also be a great resource for a nature, seasons or science {living things} unit. I'll show you exactly how to make this spring flower sensory bottle in a few easy steps.
Sensory bottles are a great tool to have on hand at home and in the classroom, not only as a learning resource, but also as a calm down tool. Watching the contents of a sensory bottle slowly move around helps children to focus, calm down and reduce anxiety. They're particularly useful during transition times between activities.
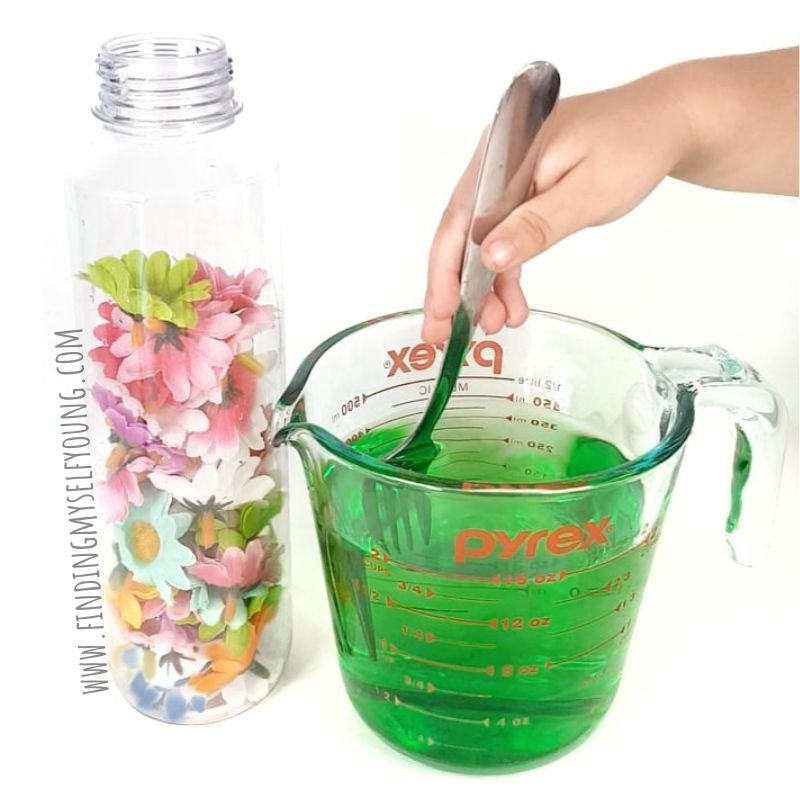
DIY SPRING SENSORY BOTTLE
Supplies to make a spring flower sensory bottle
- 500ml empty plastic bottle {we use Voss bottles}
- Fabric flowers {enough to 3/4 fill bottle}
- Green food colouring
- 450ml water
- Fork
- Jug
Whenever we make a sensory bottle I always use the Voss 500ml plastic bottles because the size is great for little hands to hold and the opening is big enough to get lots of different items inside. I bought a bulk pack of them online at Amazon AU which is the only place I've been able to find them in Australia. You can also get individual bottles. Voss plastic bottles are also available from Amazon US or there are many other plastic bottles you can use.
Spring is the time flowers start blooming, so when we decided to make some seasonal sensory bottles, the obvious choice for spring was to use flowers. However, because we keep our sensory bottles forever, I didn't want to use real flowers in case they eventually deteriorated or discoloured.
I couldn't use paper flowers because they would get destroyed in water, so I decided to use fabric flowers as they still have the shape, feel and colour of real flowers, but won't be affected by being submersed in water. You can use any type of flower you like, we went with colourful daisies.
HOW TO MAKE A SPRING FLOWER SENSORY BOTTLE
My girls love making sensory bottles with me and this one was made with my 4yr old in less than 5 minutes. It's really that easy!
1. Place flowers into the empty plastic bottle. Try to get them facing outward so the open flower is visible when looking at the bottle, however don't worry too much as they will move around a bit in the water. Only fill the bottle 3/4 full with flowers to allow room for them to rise once the water is added.
2. Fill the jug with 450ml of water and add a few drops of green food colouring. Stir the water until the food colouring is completely blended in.
3. Carefully pour the water into the plastic bottle until it's almost full. You will see the flowers start to float and fill the bottle more once the water is added.
4. Secure the lid. To permanently close the lid you can either tape it shut, or seal it with hot glue before closing.
The end result, while simple, is extremely satisfying and incredibly calming to look at. It reminds me somewhat of resin art as the flowers look permanently suspended in the green water, but they glide ever so slightly when we spin or shake the bottle.
More spring activities for kids
Disclosure - This post contains some affiliate links for your convenience, which means I may make a small commission at no cost to you, should you make a purchase.


.jpg)


