Want to know the thing I love most about Easter? No, it's not chocolate {although that is a bonus!}. What I love most are the plastic eggs. Weird I know, but they're just so versatile for play, and they're so cheap! Today I'm going to show you how you {and your kids} can turn plastic Easter eggs into sensory music shakers with just a few items from your pantry or craft drawer.
*Please note these shakers are intended for children who are over 3 and no longer mouthing. Always use under adult supervision*
WHY IS MUSIC GOOD FOR CHILDREN?
Music is great tool to help children develop both cognitively and physically. While listening to, or singing songs children are developing their language, learning to follow instructions and learning to self regulate. Moving along to the beat, or doing specific actions to songs also helps with gross motor development. Music is also great for mood changing, kids can be excited with fast tempo music and calmed down with slow, quiet music. So egg shakers are a great addition for play time, quiet time or calming down before a nap or bed.
SUPPLIES TO MAKE EGG SHAKERS
- Plastic easter eggs
- Washi tape or sticky tape
- Filler items {see ideas below}
- Hot glue {optional}
Making egg shakers is really simple, you'll only need hollow plastic Easter eggs, some form of tape {we used washi tape because we had the same colour tape as eggs} and different sensory materials to fill the eggs. Plastic eggs are usually available in supermarkets, dollar stores and craft stores from February, or are available all year round from my Amazon store.
Choose your sensory fillers based on your child's age and what you already have on hand or can get easily. We have a big stash of expired food items for sensory play, as well as a big collection of loose parts. You can pick up lots of nature loose parts for free on nature walks, or get craft loose parts for really cheap from dollar stores. If the kids want to help make the shakers you may also want to use either an egg carton or muffin tin to rest the plastic eggs in while they're filling them so they don't tip over.
EGG SHAKER SENSORY FILLERS
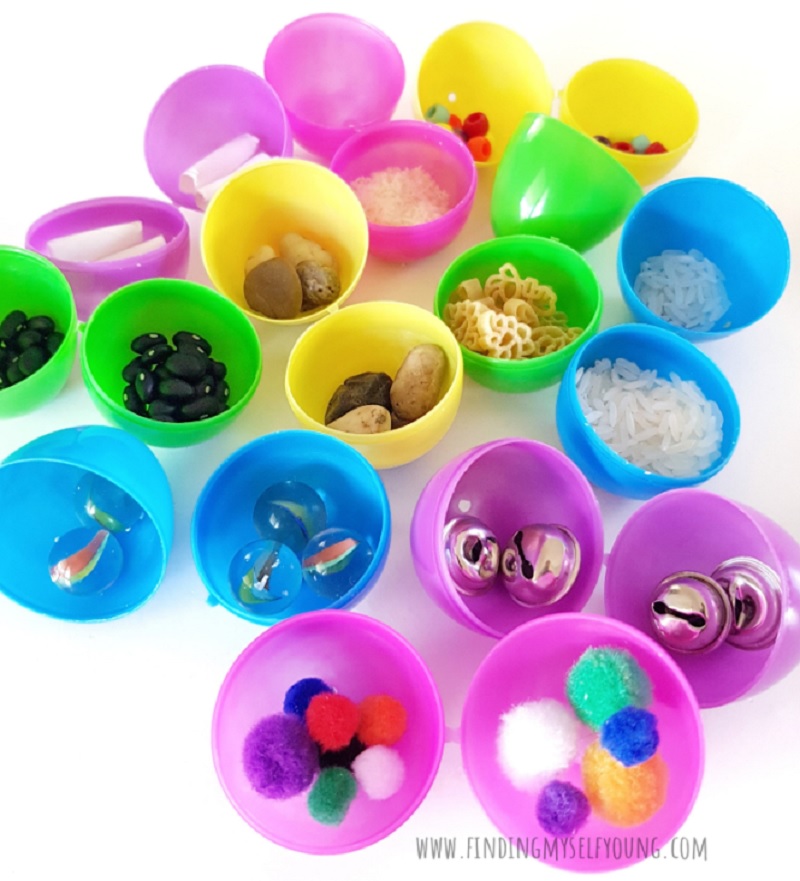
To fill the egg shakers you'll want a variety of dry items that will make different types of sounds. This includes using items that are different sizes and weights which will affect the pitch they make when they hit the inside of the plastic eggs. For our egg shakers we used a variety of dry foods {which I have saved for sensory play} and small loose parts. I know some people don't like using food items in play, so you could just use loose parts if you prefer.
We had 10 different eggs to fill and we used rice, coconut, dinosaur pasta, black beans, small rocks, craft bells, pom poms, marbles, pony beads and a cut up paper straw. Corn kernels, chickpeas, lentils and birdseed would also be great shaker fillers. Buttons, small shells, waterbeads, sand and small twigs would also be great non food fillers.
LEARNING OPPORTUNITIES
- Colour matching
- Fine motor skills
- Language development
- Encourages self regulation
- Auditory & vestibular stimuation
- Encourages creativity
- Collaboration
- Rhythm & beat
HOW TO MAKE DIY PLASTIC EASTER EGG SHAKERS
1. Fill each plastic egg. For dry food items you'll need 1-2 teaspoons for each egg. Loose parts can be placed in until the egg is almost full, leave some space so the items have room to move around when shaken. Repeat until each egg has been filled. {Side note - if you use desiccated coconut you may need to tape up the small holes in the bottom of the eggs so it doesn't fall out when shaken}.
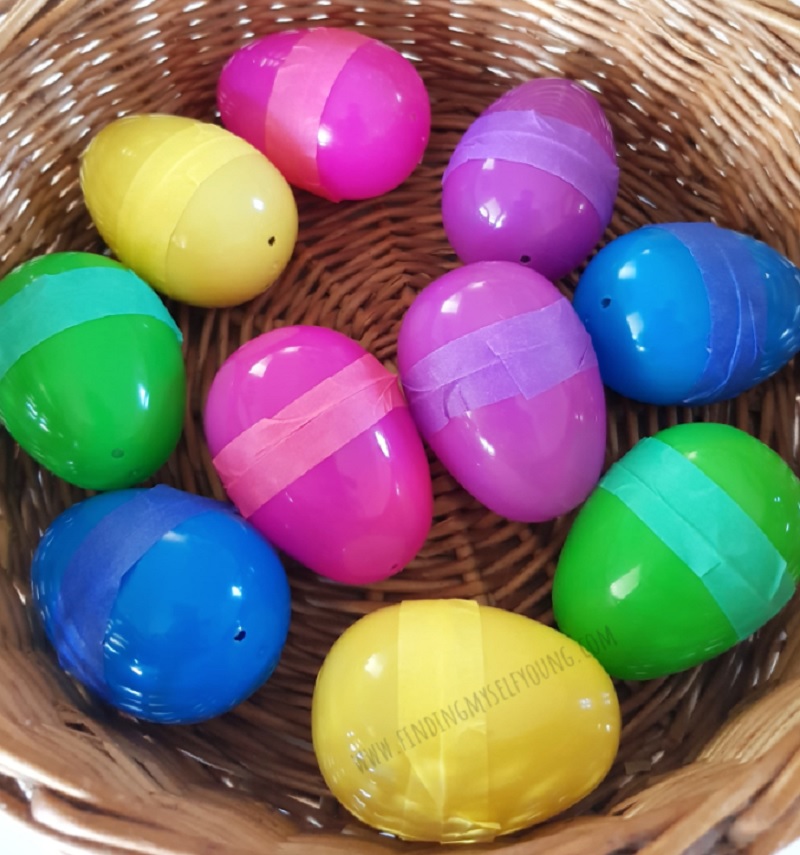
2. Cut or tear a strip of washi tape, or sticky tape, approximately 10cm {4 inches} long to seal the egg. We used washi tape in the same colours of the plastic eggs so we could add in some colour matching, however you can use any washi tape or sticky tape. Tearing or cutting the tape is also great fine motor practice if the kids want to help out with this step.
3. Click the egg closed and stick the tape over the join. Some plastic eggs may pop open again as you're sticking down the tape, just click it closed again as you're taping it.
If you want to make sure they're 100% sealed, you can add hot glue around the rim of the egg before clicking them closed. Hold shut for a few seconds for the glue to dry before adding the tape. Remember the glue will be hot until it's dried so children should not help with this.
4. Stick the tape all the way around the egg until it is overlapped. Please note washi tape is quite easy to peel off, so if you're worried about younger kids opening the eggs, use hot glue or strong tape to seal the shakers.
Once you've finished all eggs you'll have a colourful collection of musical sensory shakers. Watch the video below to hear all the different sounds our shakers make. Some are really soft and you can hardly hear them {pom poms}, while others are super loud.
WAYS TO PLAY WITH EASTER SHAKERS
- Ask kids to identify the pitch - Is the sound high or low? Is it loud or quiet?
- Guess the contents of each egg - What's making the sound?
- Shake the shakers in time to songs
- Make maracas by adding plastic spoons
We made one of our egg shakers into a maraca by adding two plastic spoons. Tape the spoons onto the outside of the egg with a generous amount of washi tape and then add some tape to the bottom ends of the spoons. This keeps the maraca secure and makes it easier for younger kids to hold. Shaking the eggs as maracas means children will be developing their pincer grip as opposed to a palmer grasp.
OTHER EASTER IDEAS FOR KIDS
Disclosure - This post contains some affiliate links for your convenience, which means I may earn a small commission at no cost to you, should you make a purchase.


