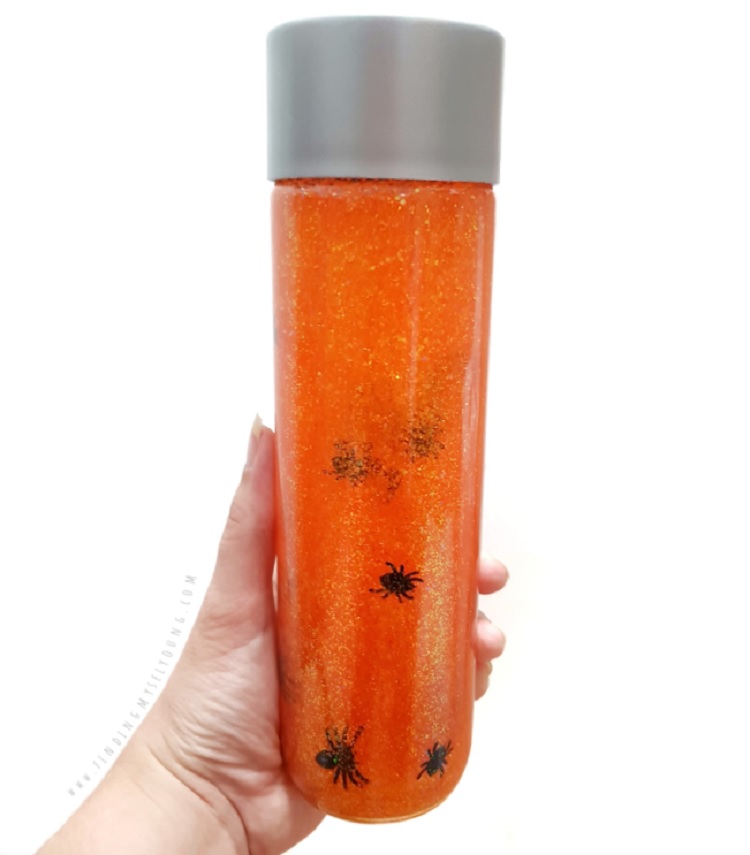
We love a good sensory bottle in our house and since we made our last glitter calm down sensory bottle a few months ago, the girls have been asking to make more water sensory bottles. So obviously, Halloween is an awesome excuse to make a new glitter sensory bottle, with a twist. Instead of using just glitter we added some spooky spiders.
This spider sensory bottle is a great for Halloween sensory play and if your kids love creepy crawlies you can leave it out all year round. It's also mess free sensory play and so easy to make, my 7yr old made ours. Follow my step by step instructions to make a spooky sensory bottle of your own.
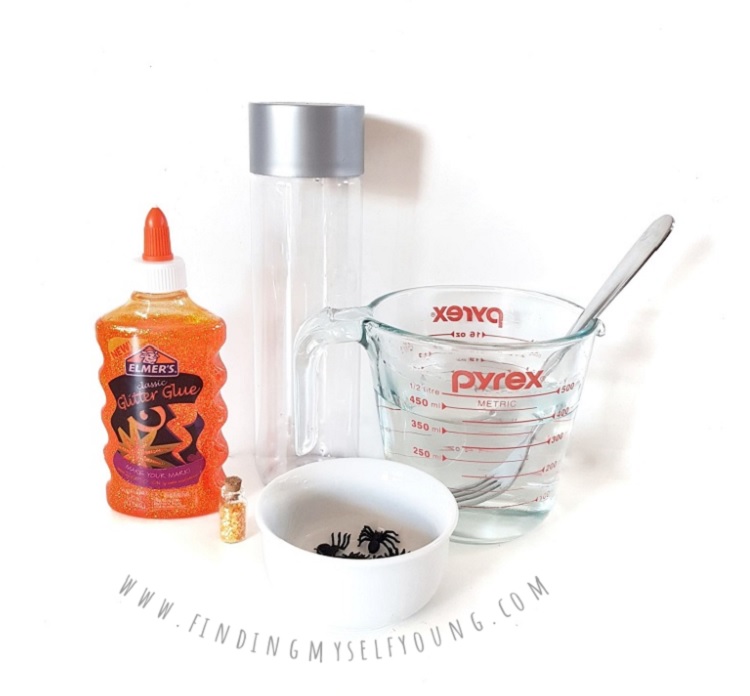
SUPPLIES TO MAKE A SPIDER SENSORY BOTTLE
- Orange Elmers glitter glue
- Orange or yellow loose glitter
- 400 ml tempered water
- Voss 500ml plastic water bottle
- Plastic mini spiders
- Spider confetti
- Pyrex jug
- Fork
I have a pretty well stocked Halloween sensory play box as I keep and reuse props for sensory play, so we always have some items on hand. Each year when Halloween stock starts appearing in stores I also add a few little bits and pieces if new items come out. To make this sensory bottle I used some spider confetti we already had from previous years as well as some new mini spiders I found at Big W. If you're not keen on spiders you could substitute them for anything else Halloween themed like bats.
I've also been stocking up on Elmer's glue and Voss water bottles whenever I see them on special as they're my go to staples for sensory bottles. In Australia, Amazon AU is the only place I've been able to source the plastic Voss bottles, however you can get them and other similar plastic bottles online at Amazon. Elmers glue is also usually regularly available from stationary stores or supermarkets, and can be purchased online if needed.
HOW TO MAKE A DIY HALLOWEEN SPIDER SENSORY BOTTLE
1. Clean out the water bottle and remove any labels so it's completely transparent.
2. Pour 400ml of tempered water {boiled water that has been cooled down, but is still warm} into the pyrex jug.
3. Squeeze out 100ml of Elmers glitter glue into the jug. Mix the glue and water thoroughly with a fork until the glue is dissolved into the water.
4. Slowly pour the glue/water mixture into the water bottle. Don't worry if the glue pools at the bottom, it will disperse again once shaken.
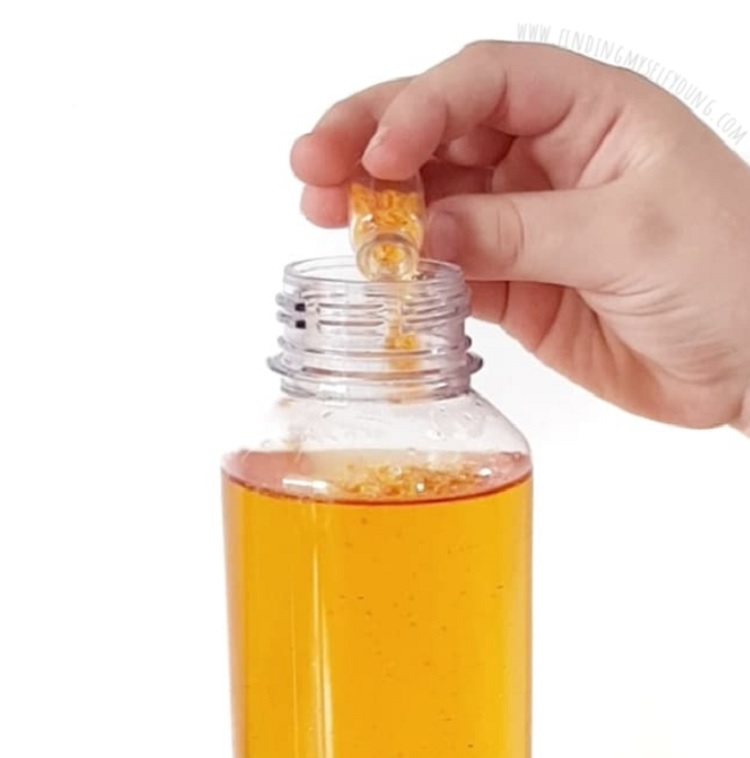
5. Add loose glitter into the bottle. Use as little or as much as you want, but remember the more you add it may change the colour of the mixture when shaken.
6. Add mini spiders and spider sequins confetti to the bottle.
7. Replace the bottle lid and shake until the glitter is mixed with the water and glue mixture.
8. Tape or hot glue the bottle lid shut if you're using it with young children so they can't open it.
9. Shake the bottle and watch the glitter and spiders float around.
As I mentioned earlier, this sensory bottle is so easy to make, my 7yr old put it all together herself except for initially pouring the hot water into the pyrex jug. The video below shows her making the spider sensory bottle.
If you want them to float slower add more glue, or if you want them to settle down quicker put less glue in. We ended up with a bit more than 100ml of glue so ours float suspended in the glitter glue for quite a while which is a little creepy, but also really cool to watch.
MORE HALLOWEEN ACTIVITIES
To keep up to date with my latest posts, play activities and book lists you can sign up to my email list or follow me on Instagram, Pinterest or Facebook. I'd also love for you to join parents from all around the world in our Facebook community.
Disclosure - This post contains some affiliate links for your convenience which means I may earn a small commission, at no cost to you, should you make a purchase.


